Showing posts with label mini album. Show all posts

Tuesday, May 16, 2017

Everyday Adventures Travelers Notebook - Elle's Studio

I'm excited to share my latest TN with you today on the Elle's Studio blog. Elle's Studio has just released a mini album class called "Everyday Adventures", complete with a kit filled with fabulous product for making your own mini album. Inspired by the class, I was asked to put that kit to use on a mini album of my own and I chose to fill my jade Webster's Pages TN:


Every Mother's Day I try to get the kids together for a decent picture. The group photo doesn't usually turn out well, but I do manage to get pretty good selfies with each kiddo. I made the theme of my TN "Everyday Adventures in being Mom". The pages feature anecdotes of daily life, things I love about my kids, and quotes about motherhood. Each child has a few pages, and even though I have four, I didn't fill up a whole TN insert. I'm planning to save the other half for next year's Mother's Day selfies.


The kit is made up mostly of the new Live, Laugh, Love collection. 6x6 papers (great size for a TN), enamel dots, puffy stickers, wood veneer, bits and pieces (die-cuts), etc. The "Everyday Adventures" stamp set is probably my most favorite Elle's Studio stamp set to date!


There are also printable elements. I don't have a color printer at the moment, so I went to my local Staples and printed two copies of each sheet. I printed on nice copy paper so that the elements would stay as thin as possible. However, I didn't shy away from using the cardstock-weight labels and cut apart journaling spots.


I learned a good lesson as I was putting this together over several sittings. Because of all the small pieces, I was "losing" things under others and forgetting what I had to work with. So, I piled like items together in an arc around my desk space and was really disciplined about returning items back to their pile if I didn't use them. My productivity skyrocketed at that point ;).


Would you like to see more? I'm still finishing up several pages and plan to do a video flip-through very soon. I'll share more photos and a link here. In the meantime, I cannot recommend the "Everyday Adventures" class enough! Sign up here, and pick up the class kit here. You'll be so glad you did.

Happy creating and thanks for stopping by :). Tessa

Wednesday, February 17, 2016

C'est La Vie Spiral Notebook - Pink Paislee

The C'est La Vie collection by Pink Paislee includes this gorgeous notebook, not unlike their Christmas-themed notebook or Memorandum notebook. I love them all, but I especially love this one because of the chic floral touches.


I decided to make a gift out of this one, a quote book that I would fill with special sentiments and decorate with C'est La Vie papers and embellishments.


I decided on a topic for each section. I embellished the first page in each section with handwritten and typewriter font quotes, acetate, patterned paper, stickers, and cork, as well as ink splatters and gold thread.


I'm going to share all the pages on Periscope this Friday, so look for that (username PrecociousPaper).


After that, I'm wrapping it up in more delicious C'est La Vie product and shipping it off to the sweet recipient. I hope she likes it :).


Check out more photos on the Pink Paislee blog here. Thanks for visiting and have a wonderful day! Tessa

Friday, June 19, 2015

Father's Day Mini Album - Pink Paislee

Pink Paislee has been posting Father's Day projects all week long on their blog, and today is my day to share! Using the Atlas collection, I created a mini album for my husband:


To play up the travel theme of the Atlas collection, I made the album look like a suitcase. I picked up these Tim Holtz metal buckles and used patterned paper to create the straps.


The pages are made out of envelopes, glued together to create an accordion-style album.


Each kiddo has a page spread, with their photo on one side and their name and journaling on the other. Inside each envelope pocket is a tag that they wrote a message on.


I think I might have to scrapbook this photo on a layout:


I wonder if he will ever smile for me without those squinty eyes?


This could also be a great format for a travel mini album. The envelopes would hold the memorabilia from your trip easily. 


Be sure to visit the Pink Paislee blog today for more details on the album and the materials I used to create it. If you're celebrating, enjoy your Father's Day this weekend! Tessa

Saturday, March 28, 2015

DCWV and Tombow Blog Hop

Hello and welcome to Precocious Paper! If you just arrived from Latrice Murphy's blog, you are in the right place. If you just happened to stop by, we'd love to have you join in the fun by starting the Gold and Cork blog hop with DCWV here.


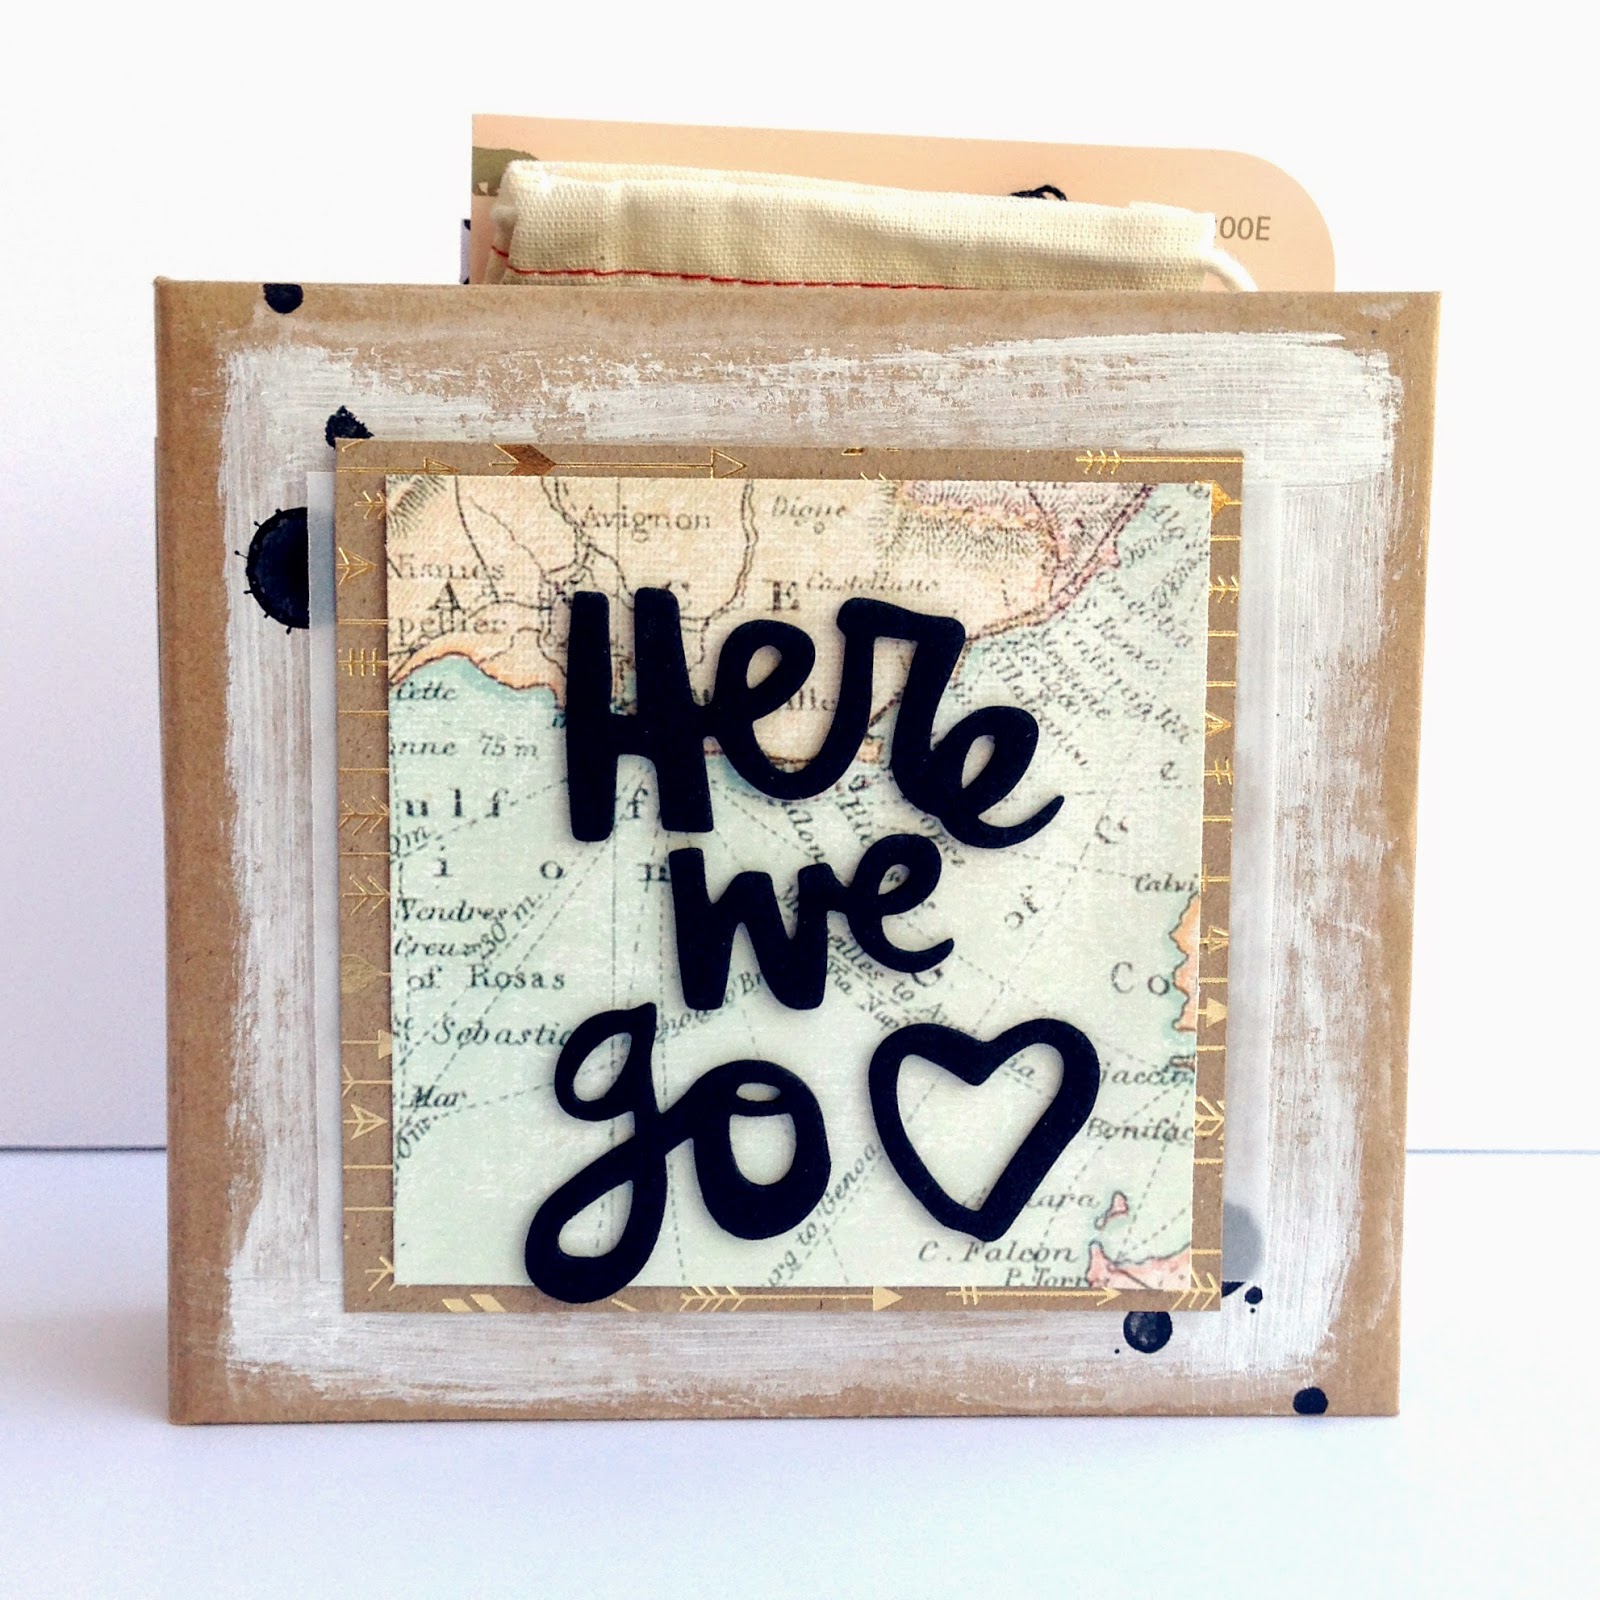
We are going on a little family day trip soon and I wanted to create a place for all of my photos, receipts, postcards, etc. from our adventure. DCWV's kraft Insta Photo Fun Album was the perfect base. Using the Gilded and Cork stacks, as well as Insta photo pockets and bags, tags and envelopes from my stash, I put together this travel album:


It isn't complete because our memories are yet to be made, but I did put together a little kit for finishing it up. I made a set of "stickers" out of the DCWV papers. To make them self-adhesive, I used Tombow's pastel adhesive dots. I love that they are mounted on the backing individually - perfect for this use!


I used Tombow's Extreme Adhesive to adhere the patterned papers to the front of my album. I also used the Extreme Adhesive to glue patterned papers together, creating more pages for my book. I think that stuff may be my new favorite tape runner! Tombow's Foam Tape is in my stash, ready to adhere my photos. I want each snapshot from our special day to lift off the page :).


Besides DCWV's Gilded Stack, I also used a map patterned paper from one of the specialty packs available at JoAnn stores. The polka dots come from a DCWV greeting card. The number tags are from Ikea - I love their new party and stationery stuff!


I'll be sure to share the album when it is all finished. Give me a couple of weeks, though ;).


Thank you for stopping by today! Be sure to comment on all the blogs along the hop to be eligible to win the Tombow and DCWV prizes (entries accepted through March 31st, winner announced April 1st). If you haven't had a chance to play with these products yet, you are missing out! Enjoy the rest of the hop, as well as your weekend!

Tessa

PS - Head on over to Yolie Burke's blog next!

Monday, January 19, 2015

Adlyn at 4 Months Mini Album - DCWV

Hello! Today on the DCWV blog I am sharing a new mini album, my first one created with the Insta Photo Fun collection. As DCWV's video hostess, I filmed a great tutorial on bringing together Insta Photo Fun pieces with other DCWV lines. You'll have to take my word for it, though, because I had major technical difficulties. As in, I'm shopping for a new video camera :(. But hopefully these photos suffice and you can hold tight until after Addie's 1st birthday party - I'm planning a birthday mini album in the pink binder and I will be filming my process for that one!


I started with photos of Adlyn at 4 months, then pulled things to match - the yellow Insta Photo Fun binder, a hot pink bling sheet (I hand-cut that heart from the bling sheet), patterned vellum from Premium Paper Collection packs, glitter paper from a 6x6 Glitz stack and more patterned paper from the yellow Insta Photo Fun stack and the 6x6 Basics patterned paper stack.


My favorite part of this whole process was working with page protectors. You may have noticed, I don't do pocket scrapbooking. I've definitely toyed with the idea, but I'm still super happy with my traditional layouts and don't feel the need to try something else right now. Having said that, I loved working with these mini pocket pages! They made the mini album process fast and simple.


I used 4x4 and 2x2 photos and pieces of patterned paper. I loved working with the uniform sizes because it was fast and I didn't have to think too much. I also loved working in the vellum. The peek-a-boo effect was fun to play with.


I've got more photos of the album pages in my flickr photostream here. I hope you'll take a look, and if you haven't already, check your local JoAnn store or JoAnn.com for the Insta Photo Fun collection.

Thanks for stopping by today! Tessa

Thursday, January 8, 2015

Christmas Catch-up - Christmas Mini Album - Chickaniddy Crafts + Video


Hello! It's day four of my Christmas Catch-up and I have one of my very favorite Christmas projects to share with you today! As you may know, this past Christmas was Adlyn's first. I wanted to make something special to document this special time, so I used the adorable and whimsical Jolly Good line from Chickaniddy Crafts to create a December mini album just for Addie.


I made the album out of an old book. You can read more about that process on the Chickaniddy Crafts blog here.


The pages are all ready for photos and journaling. I just need to print, write, and add in the memorabilia I saved.


If you'd like to see the inside details of the album, check out this video walk-through:


Thanks for visiting, friends! I'll be back tomorrow with the final installment of Christmas Catch-up: more Jolly Good inspired craftiness and a video tutorial! Have a great day :). Tessa

Monday, January 5, 2015

Christmas Catch-up - December Mini Album Cover - Pretty Little Studio


Hello and welcome to Christmas Catch-up week! I'll be sharing all the Christmas projects I missed blogging in December (you know, when it was the crazy-busy holiday season). I've got albums, decor, layouts and even video tutorials to share, so I hope you'll join me (or pin for later, when you aren't in holiday overload mode).


Today I'm sharing the cover of my December mini album, created for Pretty Little Studio.


I started with a 6x8 binder that I purchased at Target a couple years ago. When I saw Pretty Little Studio's Holiday Cheer line, the navy blue and gold made me think of this lonely little binder and the two made a perfect pair for a mini album.


I have yet to fill the inside, but I have a plan. All December long I kept a Pottery Barn holiday shopping bag out on my counter (since it was so visible, it was kind of important that it be festive and cute). Whenever a bit of memorabilia came home from school or a party or a performance, into the bag it went. After CHA, I plan to print photos, make basic cardstock pages, then hole-punch everything and add it all to the binder. I'll embellish with Pretty Little Studio die-cuts, stickers, word flags, flair, etc. I'm certain it will be an easy afternoon project. Just my speed for a December album :). I'll do a video walk-through when I'm done and share here on the blog.


You can read more about the darling product and my process for the cover on the Pretty Little Studio blog here.

And, if you're really just over Christmas and ready for Valentine's Day, you've got to check out Pretty Little Studio's new line - You and Me. It's beyond darling and I can't wait to get my hands on it. From Valentine's Day on into Spring, this collection is full of sweet vintage charm, trendy patterns, and all the fabulous embellishments you've come to love and expect from Pretty Little Studio.

Thanks for stopping by today :). Tessa

Monday, November 17, 2014

Christmas Mini - DCWV and Spellbinders + Tag Tutorial

Hello! I am so excited to be a part of the Spellbinders Partner Hop! If you've just happened upon this post and would like to participate from the beginning, please go here. If this is your first time visiting Precocious Paper, welcome. I hope you visit again soon :). I have been a member of the DCWV design team for 2 1/2 years and a big fan of Spellbinders for quite some time. When the opportunity came to combine these two great companies, I jumped at the chance! But enough about me. On to my project ;).


For this Christmas mini album, I worked with DCWV's new Storybook Christmas Stack, Christmas and Winter cardstock mat stack, Printed Burlap 6x6 Stack, and some additional glitter paper and cardstock. From Spellbinders I received Holiday Sentiments and Flurries.

I really enjoyed the Holiday Sentiments dies and placed them center stage in my album. From the album's title...


...to the tags on several pages, these cute cursive words were the perfect touch. Cut from DCWV's glitter cardstock, they were a dream to work with.


If you'd like to make these simple tags, the process is easy. Gather a tag base, thread, washi tape, your die-cut sentiments and any other embellishments you'd like.


Cut a long length of thread and secure it to the back of your tag with washi tape. Wrap the thread around the tag multiple times, again securing the end with washi tape.


Add a bit of adhesive to the back of your words and secure to the tag, tucking the words under some of the threads. Add embellishments.


I also really enjoyed the Flurries die. I've never worked with such a large, detailed die before, so I was sure to follow the instructions carefully. I am so glad I read the tips about running it through several times, adjusting the orientation of my die/cardstock, and adding a shim. The tips worked beautifully and cutting several panels with this die was actually fun ;). There's something satisfying about popping out all those little pieces ;).


I wanted the Flurries die to have a prominent place in my album, so I made additional pages with the cut Flurries panels and the burlap papers by DCWV. Because the burlap is backed with paper, it was easy to adhere the Flurries pieces to the backside of the burlap. I really love the kraft of the burlap paper showing through the bright white of the cardstock. I plan to add typed journaling strips to the burlap sides.


I have posted the entire album in my gallery here, but here is a quick snapshot of several of the pages:


The Storybook Christmas Stack, burlap stack and glitter cardstock are the perfect companions to such pretty holiday dies. Thank you to both Spellbinders and DCWV for such amazing products to work with. I am going to really enjoy filling my album with Christmas photos this season.

I hope you enjoy the rest of the Spellbinders hop! Good luck winning all those fabulous prizes ;). Thanks for stopping by :). Tessa