On Saturday I gained another sister, a sweet friend who I have considered a sister for a very long time already. I was happy to help with the wedding and reception in any way I could, and these are the projects I had a hand in.
First, this is the card I made for the bridal shower.
1. Start with a white cardstock base (DCWV cardstock).
2. Add a strip of gold washi tape (or patterned paper if you prefer) 2/3 of the way up.
3. Collage flowers mostly below the tape.
4. Add DCWV bling centers to the flowers.
5. Punch small butterflies from DCWV glitter cardstock (Royal Garden stack) and adhere throughout the flowers.
6. Add an alpha sticker sentiment.
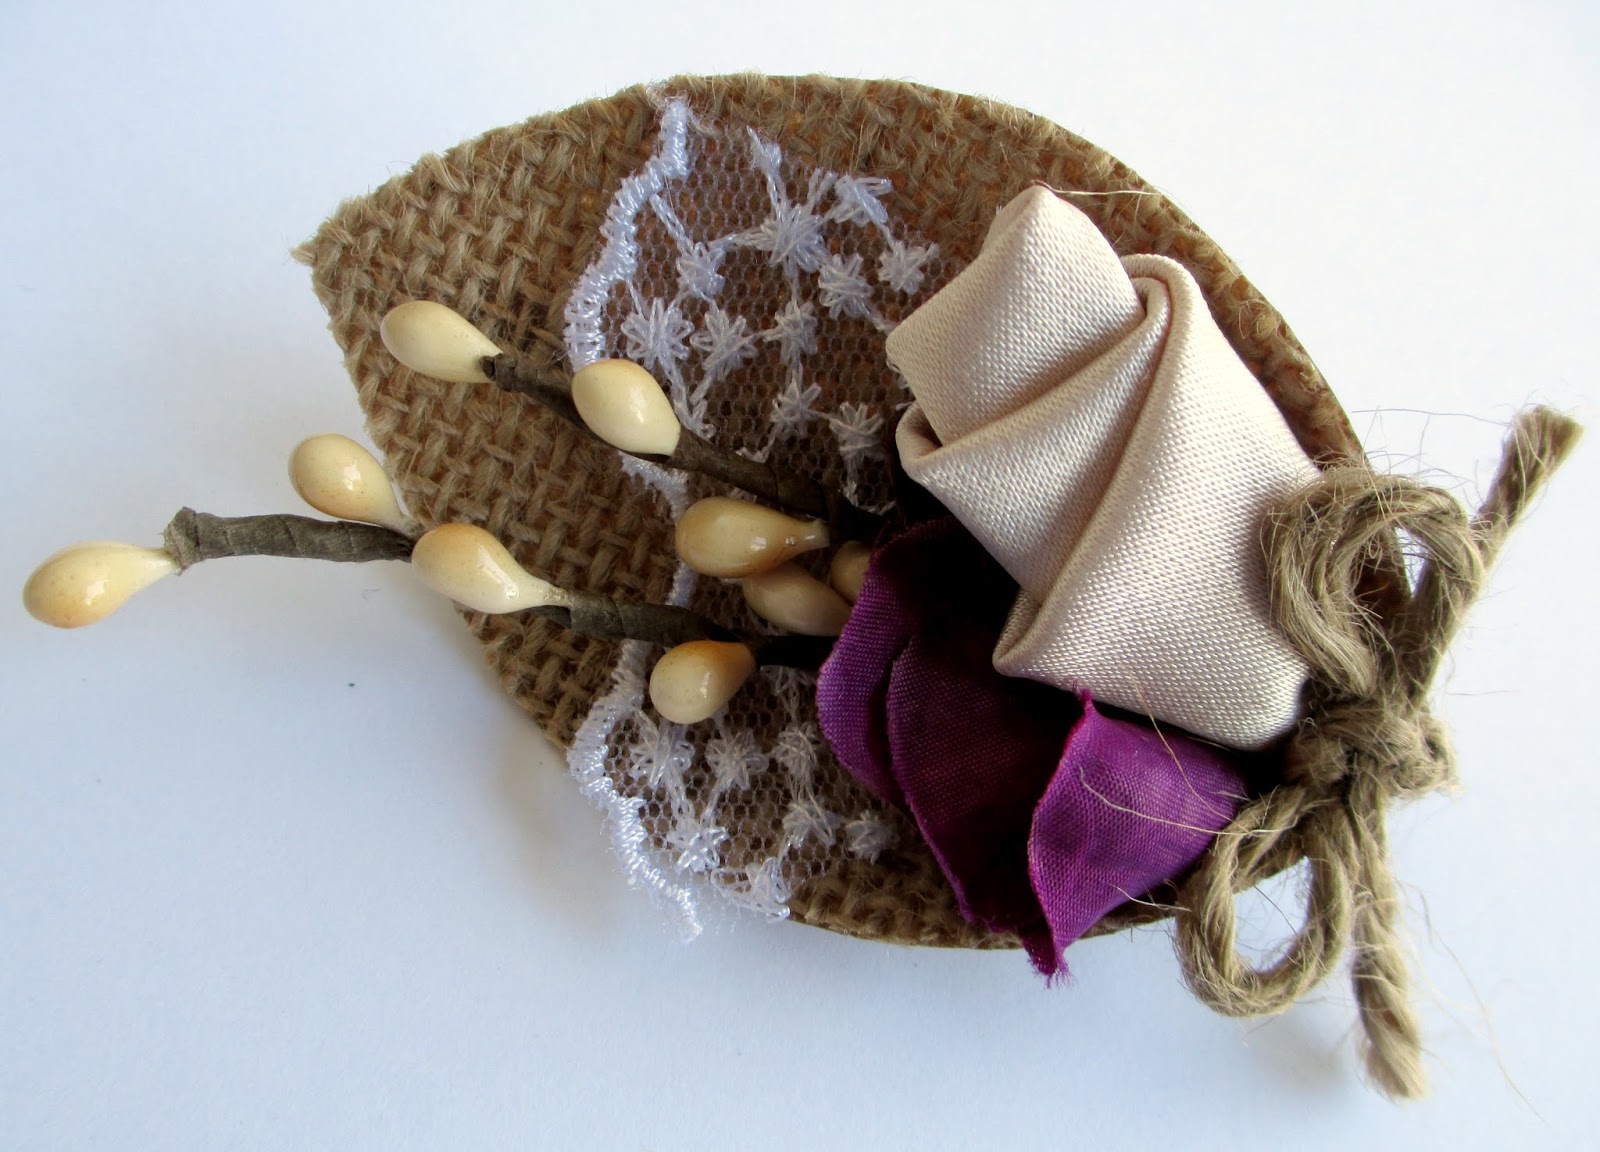
I was assigned to make the boutonnieres. Because burlap was a recurring element to the wedding decor, I turned to DCWV's burlap stack. I also used leftover bits from the wedding dress, and silk flowers and jute twine from other decor projects.
1. Hand-cut a large leaf from the burlap paper.
2. Glue in a bit of lace edging.
3. Glue in woodsy flower picks.
4. Roll satin to make a flower bud; glue in.
5. Tuck in a silk hydrangea flower.
6. Pinch bottom of leaf and secure in this curled shape with glue.
7. Add a jute twine bow.
8. Add a pin to the back.
I also made the corsages. I used these eggplant purple
Satin Swirl Flowers from my etsy shop, Precocious Paper. I also added the same lace and woodsy flower picks that I used in the boutonnieres. I added tiny leaves hand-cut from DCWV's burlap stack, too.
The center pieces were simple.
I cut burlap labels from DCWV's burlap stack using my die-cut machine and Spellbinders dies. They worked like a dream! My sister and new sister-in-law simply used a hot glue gun to attach them to the glass bottles, then tied ribbon and jute twine over the labels.
Embroidery hoops were another common element in the decor, so I learned a new stitch and embroidered e's for each table.
The burlap stack came in handy for the cake topper, as well. I used my Silhouette Cameo to cut a banner template, then we used the template to cut the pieces from the burlap paper. I didn't try, but I strongly suspect that this burlap paper is too robust to be cut by a Cameo ;).
1. Using a template, cut out banner shapes from burlap paper.
2. Punch holes in each of the top corners (we used a crop-o-dile).
3. Add alphas (cut by Silhouette Cameo).
4. String banner pieces with jute twine.
5. Attach banner to dowels.
We also used my Cameo and the burlap stack to make this "thank you" banner. The happy couple plans to use a photograph like this for their thank you cards. You can't see it very well here, but I also made the flowers on her wedding gown's sash :).
This is the wedding card I made. I opted for a romantic, layered, monochromatic look.
1. Start with a white cardstock base (DCWV cardstock), size 4.25 x 5.5 inches.
2. Adhere a block of patterned paper (Everlasting Love Stack) to card, size 4 x 5.25 inches.
3. Layer a piece of burlap (Burlap Stack), some tissue paper, vellum and a shipping card in the center.
4. Add a bit of white washi tape to the edges of the layers.
5. Adhere flowers to tag.
6. Adhere DCWV pearl bling to the center of the flowers.
7. Add sticker sentiment to tag (SRM Stickers).
We had a lovely time, but my favorite part (besides seeing how happy Garrick and Sarah were) was definitely spending time with my sisters putting it all together. Thanks to DCWV for the help in making so many projects! Be sure to pick up that burlap stack, crafty friends - it's seriously amazing! Have a great day! Tessa