

Welcome to the last part of my pinata tutorial! If you've just stumbled upon this post but would like to see the process from start to finish, here's...
Part One: Cutting Out the Pieces
Part Two: Assembly

Because I was making a yellow pinata, I was afraid that the cardboard would show through the yellow crepe paper that I planned to attach. So, I spray painted my pinata yellow. I highly suggest this step if you are using light colors. However, you could skip it altogether. Just my personal preference ;). And if you are the expecting Mama, have someone else spray paint for you, or, at the very least, do it outside with plenty of protection.

While I was doing research before starting this project, I saw several pinatas that were covered in circles of tissue paper or crepe paper. I loved the scalloped look those circles gave the pinatas, so I opted for that style over the traditional fringe (although I love the fringe, too!). To create my circles I used my Big Kick die-cut machine, my Sizzix circle die, and about 1 2/3 small rolls of crepe paper streamer. If you have access to this machine and die, here's how to make the process of die-cutting oodles of circles as quick as possible.
First, accordion fold the streamer until you have about a dozen or so layers.

Place the folded streamer over the circle you want to cut. This 1.5 inch circle was perfect.
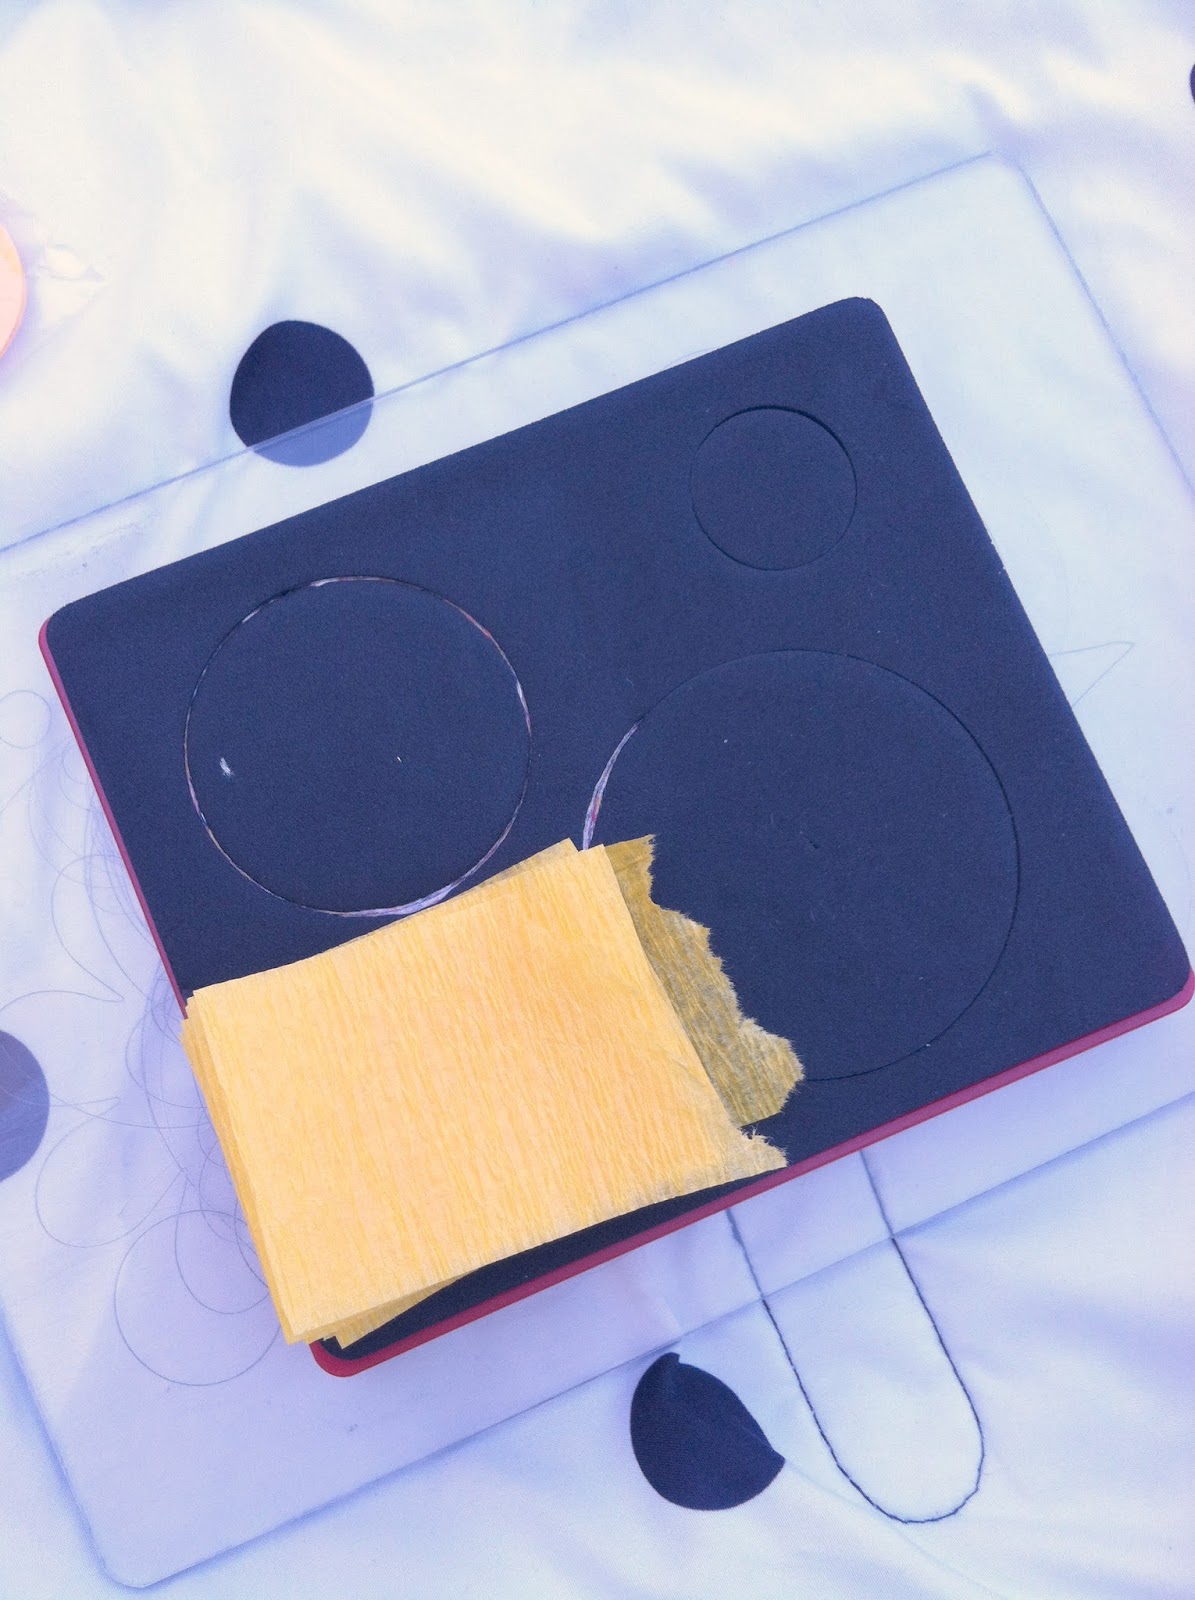
Run through the machine and voila! You have circles! Repeat, over and over and over again.


Note: If you don't have a die-cut machine, you could use a sharp pair of scissors to hand-cut your circles. I would still accordion fold the streamer, and I suggest using a circle template to get nice, round circles. Or, for simplicity, use rectangles! Just trim rectangles off of the streamer in uniform widths. I think that's what I'd like to try next time ;).
To attach the circles, I use Helmar 450 glue - a clear, liquid, quick-dry glue. Starting at the bottom of the question mark, I laid down a line of glue about an inch from the bottom. I pressed four, overlapping circles into the glue. Because the glue was just at the top of the circles, the circles had a little bit of a fringe effect. I repeated the glue and stick process all the way up the straight part of the question mark, overlapping the rows by about a quarter of an inch. For the curved part of the question mark, I started gluing and sticking on the outside edge, then I worked my way to the inside edge.

At this point, before covering the sides and bottom, I attached my dot to the question mark. I had toyed with the idea of stringing the dot to the question mark with fishing line, but my boys told me they were going to aim for the dot first. So, we super-glued the dot to the bottom instead. That way, breaking off the dot didn't potentially open up the pinata. I couldn't make it that easy for them!
The sides of the pinata were the easiest - just rows of three circles each. I covered the dot with the same process and the pinata was finished!

To hang, I tied ribbons and tulle in a big bow to the top of the pinata (triple knotting so that the bow wouldn't untie from the rope around the tree).

All in all, I'd say I spent about $10, and it took about five hours of leisurely-paced work. It was a fun project to do while enjoying my sun-dappled yard on these cooler, early-fall mornings. The pinata was the center attraction of our gender reveal party, and I'm so glad I took the time to make my own. If you have any questions, feel free to leave them as comments and I'll be sure to reply. I hope you enjoyed my tutorial! Thanks for stopping by! Tessa
how fun Tessa!
ReplyDeleteWhat a fun and clever way to paper craft a gender reveal! And congratulations, by the way! Hope you're feeling well! :)
ReplyDeleteJust read through all of these. Such a clever idea and love the step by step tutorial!
ReplyDeleteGreat idea and lovely execution! Brilliant and unique!
ReplyDelete