Happy Friday! I've decided to take over Designer Friday today and give the design team girls a little extra time to play with their February goodies. I thought I'd share a fun and easy tutorial for altering my popular Sewing Pattern Petals.
Several sets are available in the shop, including a new option:
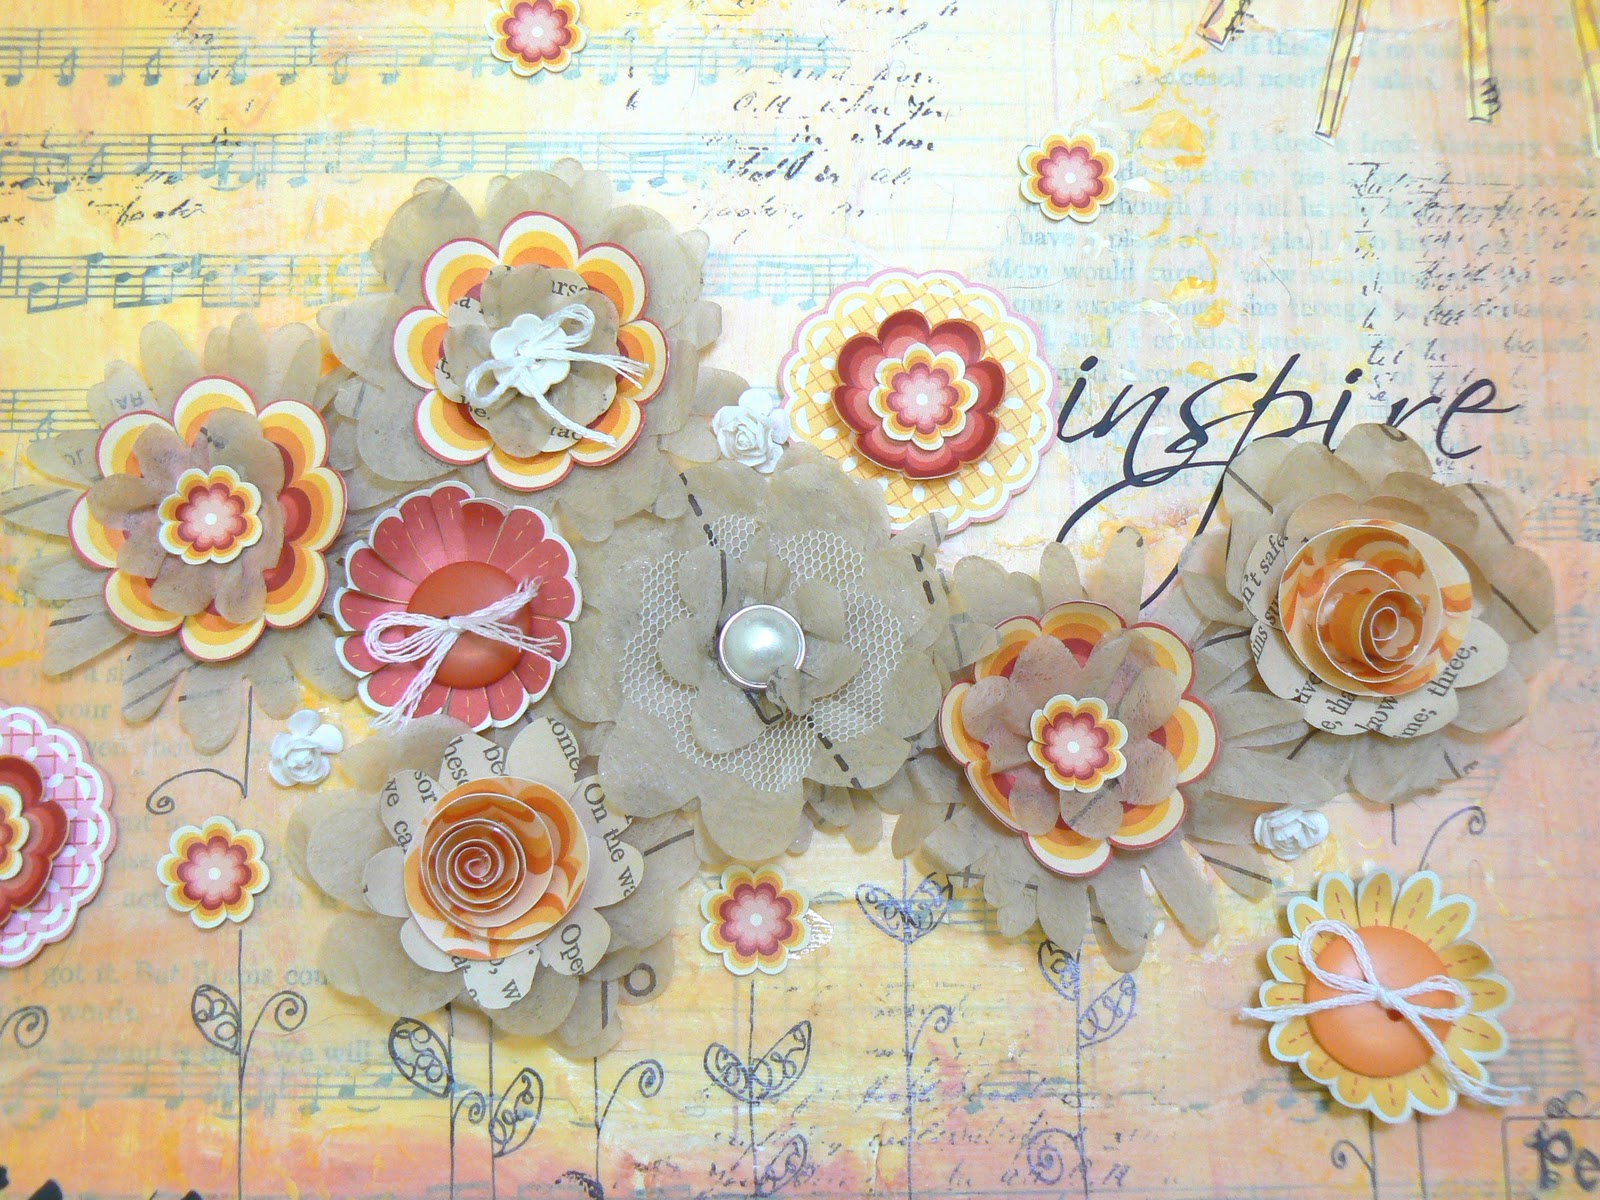
DIY Sewing Pattern Petals. The DIY kit includes enough die-cut flower layers to create 6 Sewing Pattern Petals, as well as six scalloped circle backings complete with holes for brads. With this option, you can add your own brad centers, sew on buttons, or layer other embellishments on top - all in your own style. But I digress - on with the tutorial!
I suggest using a mister as opposed to submerging the flowers. The paper is very delicate if saturated, so I recommend just getting to the damp point.
You should be gentle, but they will hold up to scrunching and a little bit of tugging just fine.
I'm too impatient, so I use my heat gun to dry the flowers. It only takes a few seconds and they are done. If your flowers are too scrunched or not crinkled enough, simply mist them and begin again.
This is what the altered flowers look like on a card:
Another take on this technique is to use Glimmer Mist rather than water. The result is a crinkled and tinted flower. Follow the same steps as above, but I suggest taking the flower layers apart and reassembling the layers once dry. For another tinted look, you can also "paint" the petals with watercolors. My favorite option is Twinkling H2O's because they have shimmer to them.
I hope you've enjoyed the tutorial and will give altering your Sewing Pattern Petals a go! If you don't have any on hand,
HERE is a link to all the Sewing Pattern Petals in the shop. And here is a coupon code to save you 10% off your entire merchandise purchase: SPP10. Have a wonderful day! Tessa