Hello! I'm excited to share with you a new ongoing project - my art journal. When I say "art journal", I mean my baby-steps venturing into art journaling. I'm not a really messy, artsy kind of girl, but I've been itching to play with stamps and watercolors, so I've decided to create this book of quotations. I'm going to play, get my feet wet, but it will be pretty clean and simple. All of the quotes will come from LDS General Conference addresses. The first two I created were chosen because gratitude has been on my mind all month:
For this page, I used pink airmail washi tape from Love My Tapes. You can read more about it at the Love My Tapes blog here, including a tip for using the right ink for washi tape.
I LOVE the Open Book collection by Maggie Holmes, and I am obsessed with these flower and leaf die-cuts. Every single line of scrapbooking supplies should come with a package of die-cut flowers and leaves. In my opinion ;).
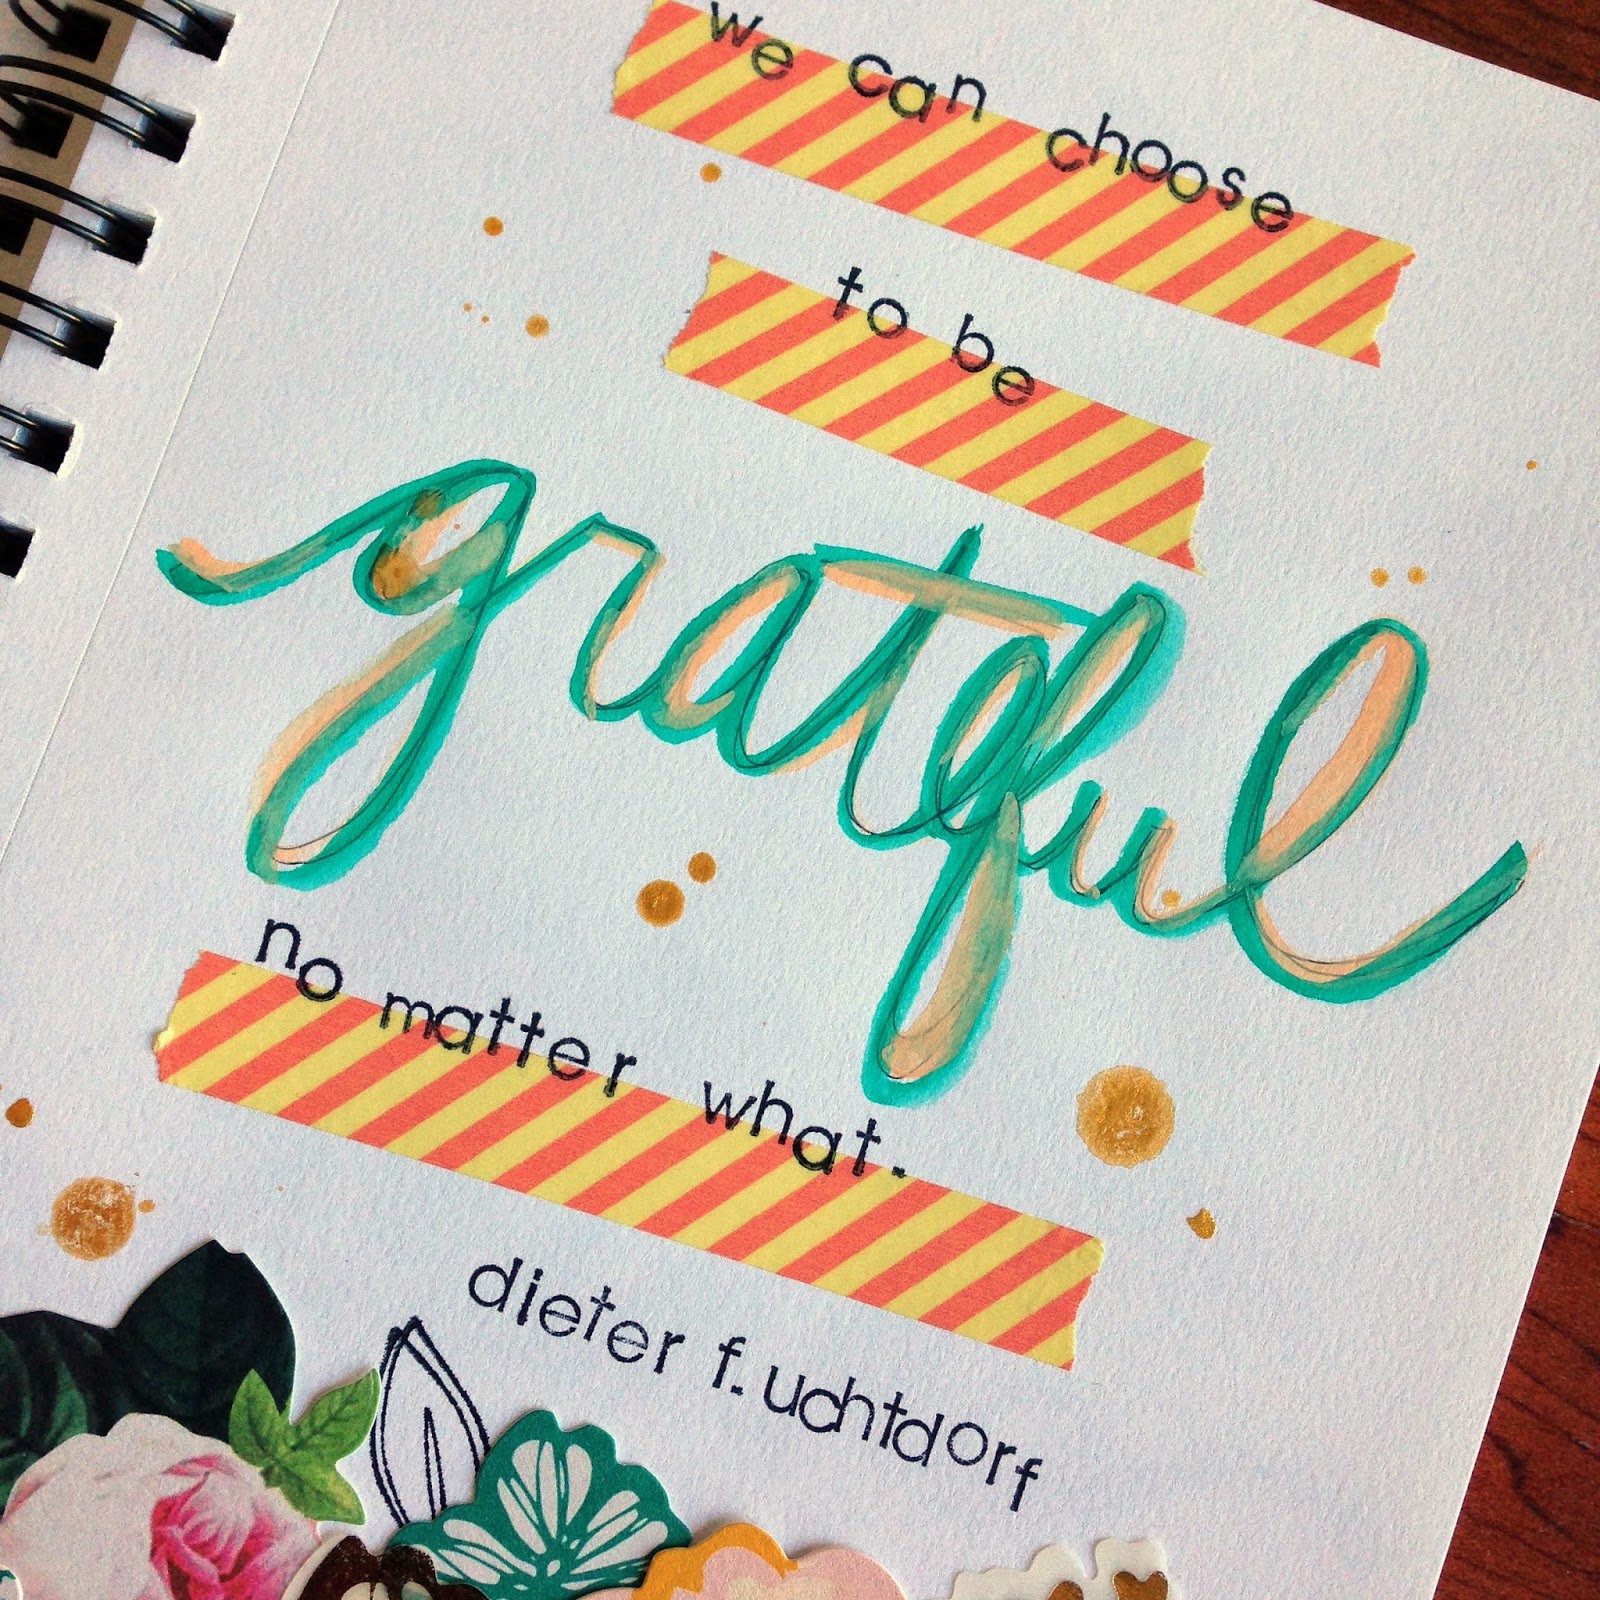
I used a $5 set of watercolors from Michaels to paint "grateful". I really like the contrast of the ballet pink and teal.
For this page, I used My Mind's Eye washi tape and more Open Book flowers. I went with yellow and green because I love the way those two work together.
I love how this quote is a gentle reminder to stop complaining ;).
I also love stamping one letter at a time. I could hand write the quotes, but stamping them forces me to take time to ponder the words. By the time I finish, I have a better understanding of what the words mean than when I started.
I'm behind on sharing my Attitude of Gratitude posts here on the blog, but I do intend to catch up this week. If we're
Facebook friends or you follow me on
Instagram, you know I had a crazy week with much to be grateful for. ;)
Attitude of Gratitude day 17: I'm grateful for my boys' teachers. I say this every year because parent teacher conferences always fall in November, but it's true. Some years I connect with their teachers more than others. Some years the boys connect with their teachers more than others. Most years are relatively smooth and successful. Others are hard. This has been a hard one. So much adjusting, growing up, and learning how to parent three students instead of just two, and all that with a baby. But I'm so grateful for all that my boys' teachers do, and even if I don't care for policies or curriculum, I'm behind them 100% because they are literally raising my kids with me.
Thanks for stopping by today! Tessa